How to install asphalt shingles on a roof? Step-by-step instructions
- 1. Laying shingles – necessary materials and equipment
- 2. How to install roof shingles? Step-by-step guide
- 2.1. Step 1: Preparing the surface
- 2.2. Step 2: Installing the underlay
- 2.3. Step 3: Starting the shingle installation
- 2.4. Step 4: Laying the next rows of shingles
- 2.5. Step 5: Protecting roof edges and gables
- 2.6. Step 6: Final inspection
- 3. Additional checklists
- 3.1. Pre-Installation checklist
- 3.2. Post-Installation checklist
- 4. Why installing roofing shingles?
- 4.1. Key benefits of asphalt shingles:
- 5. Laying asphalt shingles – summary
- 6. FAQ – Frequently Asked Questions
- 6.1. How do you install asphalt roof shingles effectively?
- 6.2. What goes under bitumen shingles?
- 6.3. Why use roofing felt under asphalt shingles?
- 6.4. How much should shingles overlap?
- 6.5. How long does a roof with asphalt shingles last?
- 6.6. Are bitumen shingles waterproof?
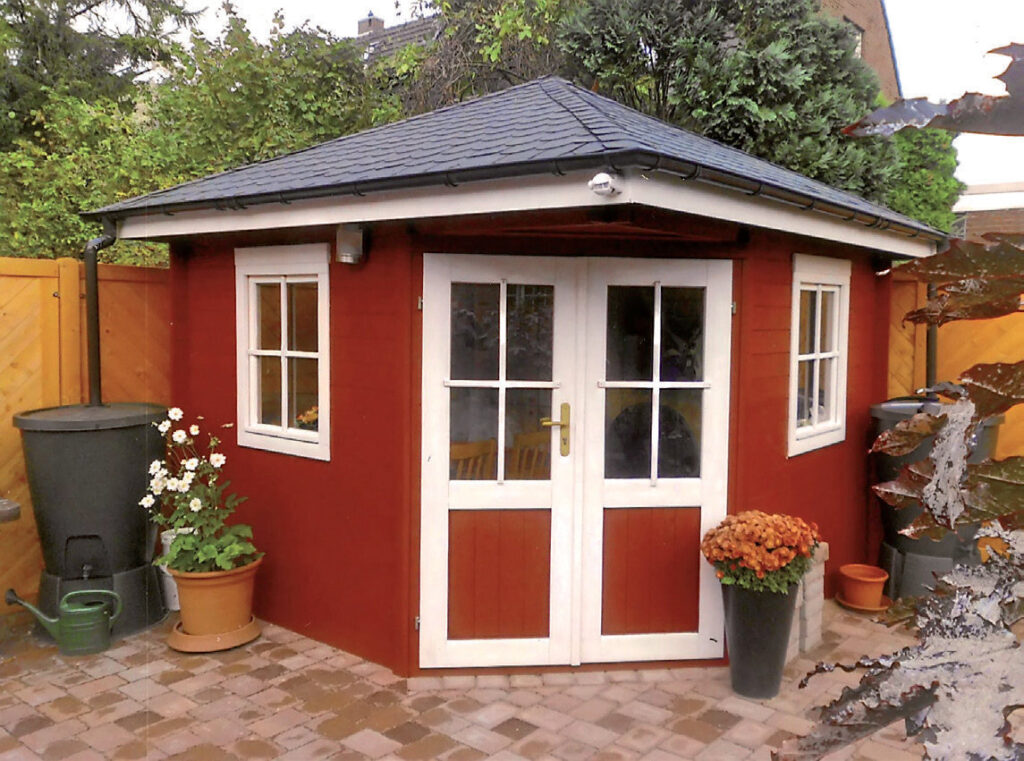
Bitumen or asphalt shingles are a popular roofing material. The installation process is simple and doesn’t require special equipment. For this reason, even individuals with little experience can carry out the work without much trouble. In this article, you will learn step by step how to correctly lay asphalt shingles on your roof, which tools you need, and the most important tips for achieving a long-lasting and aesthetically high-quality result.
Laying shingles – necessary materials and equipment
Before starting the installation of roof shingles, ensure you have all the necessary tools and materials. Here is a list of the most important items you will need:
- Bitumen/asphalt shingles – the main material for roof, available in a variety of shapes, colors, and patterns to match the appearance of the building.
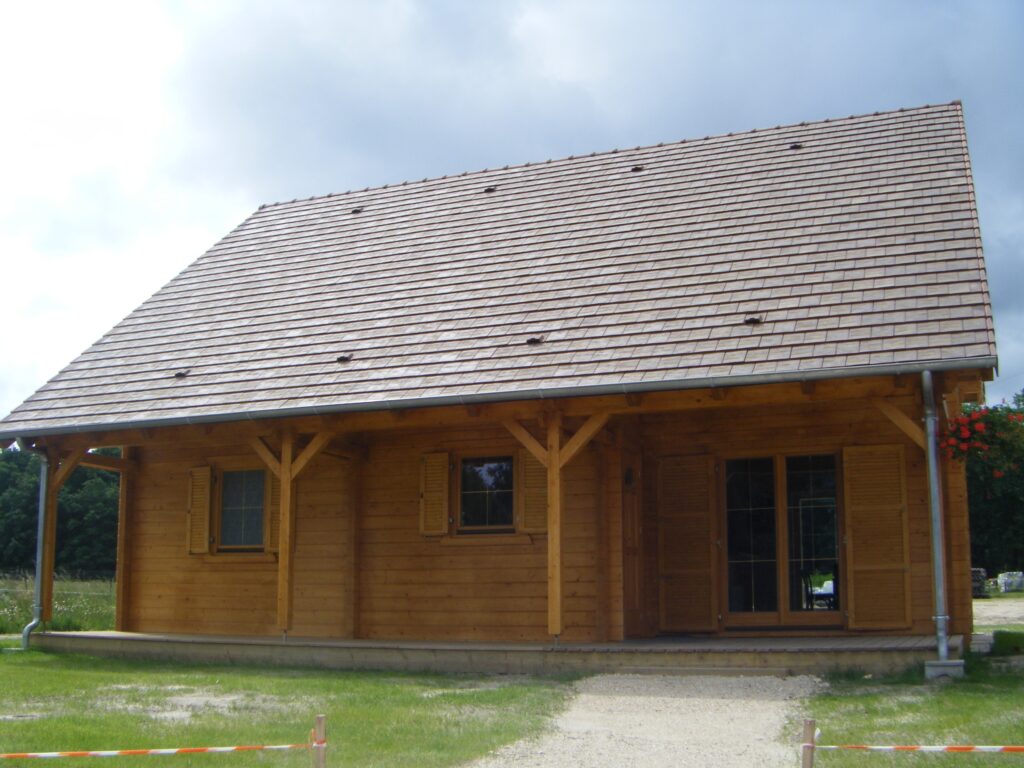
- OSB or plywood boards – the base on which the shingles are laid. It should be dry, even, and firmly attached to the roof structure.
- Roofing underlay – provides an additional protective layer against moisture and wind. The membranes are laid under the shingles and increase the roof’s tightness.
- Bitumen adhesive – used for gluing and sealing the shingles so that they adhere firmly to the surface and are protected from gusts of wind.
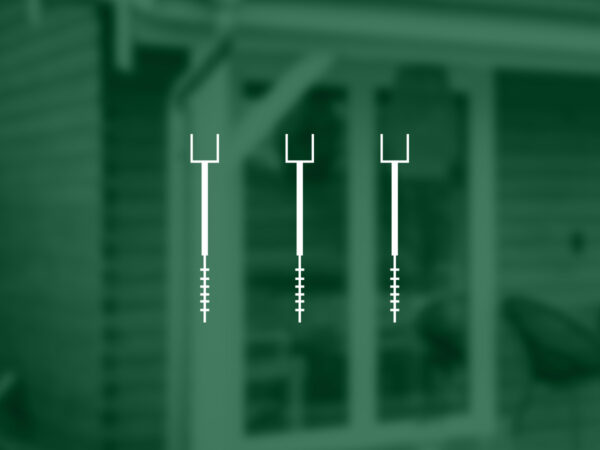
- Roofing nails – special nails with a wide head used to fasten roofing felt and shingles to the structure.
- Hammer – an indispensable tool for driving nails into the roof.
- Roofing knife – for precisely cutting shingles and roofing felt to fit the shape of the roof.
- Tape measure and spirit level – allows for accurate marking of laying points for the shingles, which is crucial for the aesthetics and functionality of the roof.
- Ladder – provides safe access to the roof during installation.
- Safety gear (gloves, safety goggles) – protects hands and eyes from injury while working.

How to install roof shingles? Step-by-step guide
The correct installation of roof shingles is crucial for a durable and weather-resistant roof.
Step 1: Preparing the surface
Thoroughly clean the roof surface before beginning the installation. Remove any debris such as leaves, branches, and dust. Check if the substrate (OSB or plywood) is dry, even, and stable. If you notice any damage or unevenness, fix them to ensure a solid base for the shingles. A well-prepared substrate is essential for the durability and airtightness of the roofing.
Step 2: Installing the underlay
Lay the underlay on the cleaned roof surface. Start at the bottom edge of the roof and work your way up. Lay the roofing underlay with an overlap of about 10 cm to ensure a secure seal. Fasten the underlay with roofing/shingle nails by driving them every 30 cm along the edge and every 60 cm in the middle of the strip. The underlay forms an additional moisture barrier and helps protect the roof structure.
Step 3: Starting the shingle installation
Begin at the lower edge of the roof. The first row of shingles should extend about 1-2 cm beyond the roof edge to allow water to drain freely. Nail each shingle securely with four nails, placing two nails on each side of the shingle, about 2.5 cm from the edge and 15 cm apart. Ensure that the nails are driven perpendicular to the surface of the shingle so they are securely and effectively fastened.
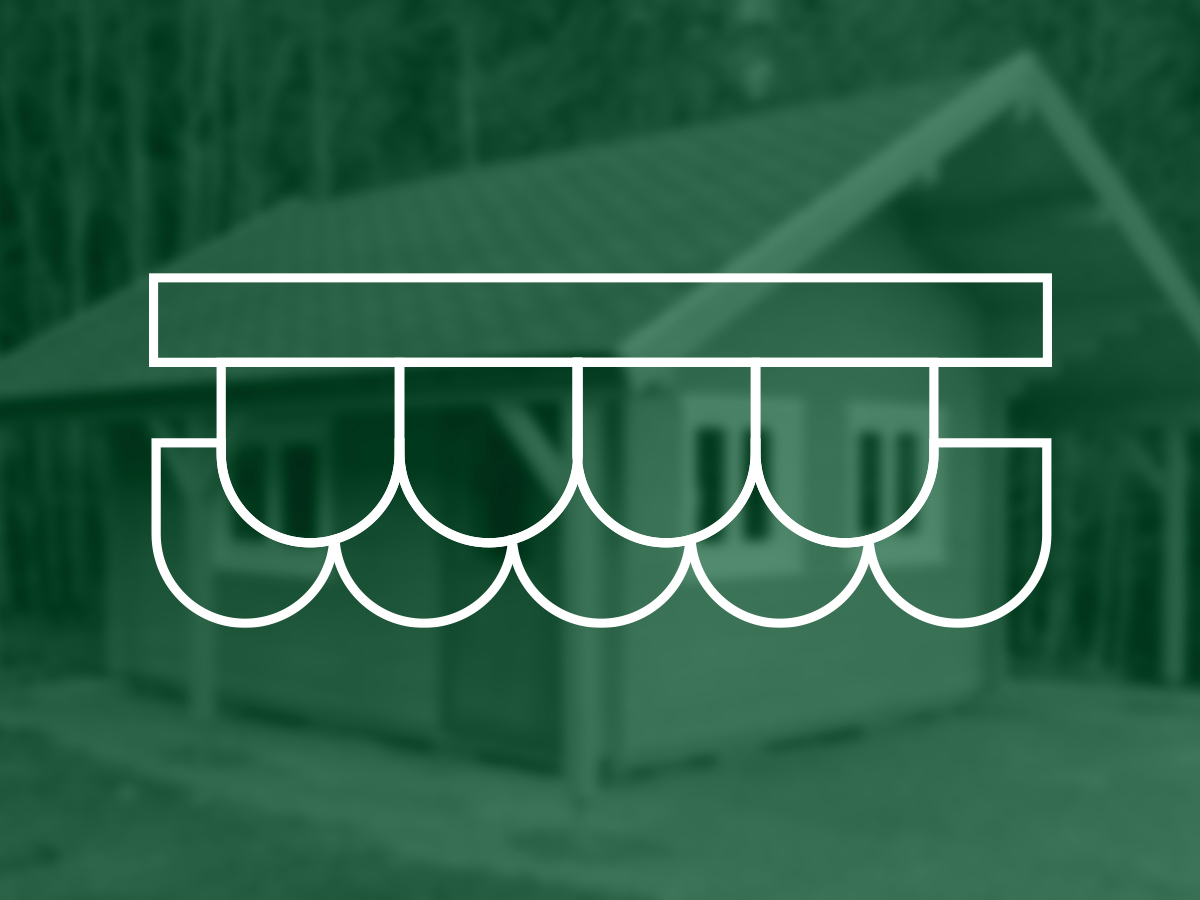
Step 4: Laying the next rows of shingles
Lay the subsequent rows of shingles staggered from the previous row to cover the seams of the shingles. Each successive row should overlap the previous row by about half its height (around 14-15 cm for standard shingles). Nail the shingles, maintaining the correct spacing between the nails. This is a crucial step to ensure the durability and attractive appearance of the roof.
Step 5: Protecting roof edges and gables
The edges and gables of the roof are particularly vulnerable to wind and water. To protect them, use special gable shingles or bitumen strips. Adhere these with bitumen adhesive and additionally nail them down, ensuring the material is pressed firmly onto the surface. Properly securing the roof edges and gables is key to preventing leaks and damage.
Step 6: Final inspection
Carefully inspect the entire roof after laying the shingles to ensure all are properly installed and securely fastened. Make sure no nails are protruding, and check for any damaged shingles. If you find any issues, correct them immediately. A thorough final inspection helps you spot potential mistakes and avoid future problems.
Additional checklists
Pre-Installation checklist
- Ensure the roof surface is clean, dry, and even.
- Verify you have all necessary tools and materials.
- Inspect the weather forecast to avoid working in rain or high winds.
- Confirm that safety gear is in good condition.
Post-Installation checklist
- Verify that all shingles are securely fastened with no exposed nails.
- Check for consistent alignment and overlap across all rows.
- Inspect roof edges and gables to ensure they are properly sealed.
- Remove any leftover debris or unused materials.
Why installing roofing shingles?
Asphalt shingles are widely used due to their affordability and versatility. They are available in a variety of shapes, colors, and textures, making them adaptable to most architectural styles. Additionally, they are lightweight and easy to handle, reducing the need for heavy-duty equipment during installation.
Key benefits of asphalt shingles:
Ease of repair: Damaged shingles can be replaced individually, saving time and cost.
Weather resistance: Asphalt shingles provide excellent protection against wind, rain, and UV rays.
Cost-effective: They are one of the most budget-friendly roofing options available.
Variety of styles: Choose from 3-tab shingles, architectural shingles, or designer shingles to match your home’s aesthetic.
Laying asphalt shingles – summary
Laying asphalt shingles can be relatively simple to do on your own with the right tools and by following a few important steps. Proper preparation of the substrate, careful placement of the shingles, and diligent protection of the roof edges and gables ensure both the durability and the aesthetic appeal of the roofing. Remember that regular maintenance and inspection of your roof will help keep it in good condition for many years.
FAQ – Frequently Asked Questions
How do you install asphalt roof shingles effectively?
To install asphalt roof shingles, begin by preparing the substrate, laying the underlay, and starting from the bottom edge of the roof. Use this asphalt shingles installation guide for detailed, step-by-step instructions to ensure durability and aesthetic appeal.
What goes under bitumen shingles?
Typically, there is a roofing membrane or underlay beneath the roof shingles, which serves as an additional moisture barrier. This membrane protects the roof structure from leaks and damage caused by water and wind.
Why use roofing felt under asphalt shingles?
Roofing felt installed under the shingles provides extra protection against leaks, especially at joints and roof edges. It acts as a barrier that protects the roof structure from moisture, preventing corrosion and the rotting of materials.
How much should shingles overlap?
Roof shingles should overlap by about half their width to ensure effective protection against water penetration under the roofing. This arrangement guarantees the tightness and strength of the roof.
How long does a roof with asphalt shingles last?
A roof covered with asphalt shingles can last between 20 and 30 years, depending on the quality of materials used and the local climate conditions. Regular maintenance and roof inspections can significantly extend its lifespan.
Are bitumen shingles waterproof?
Yes, bitumen shingles are waterproof and effectively protect the roof from rain and snow. However, it is essential that they are installed and sealed properly to maximize water protection and prevent potential damage.