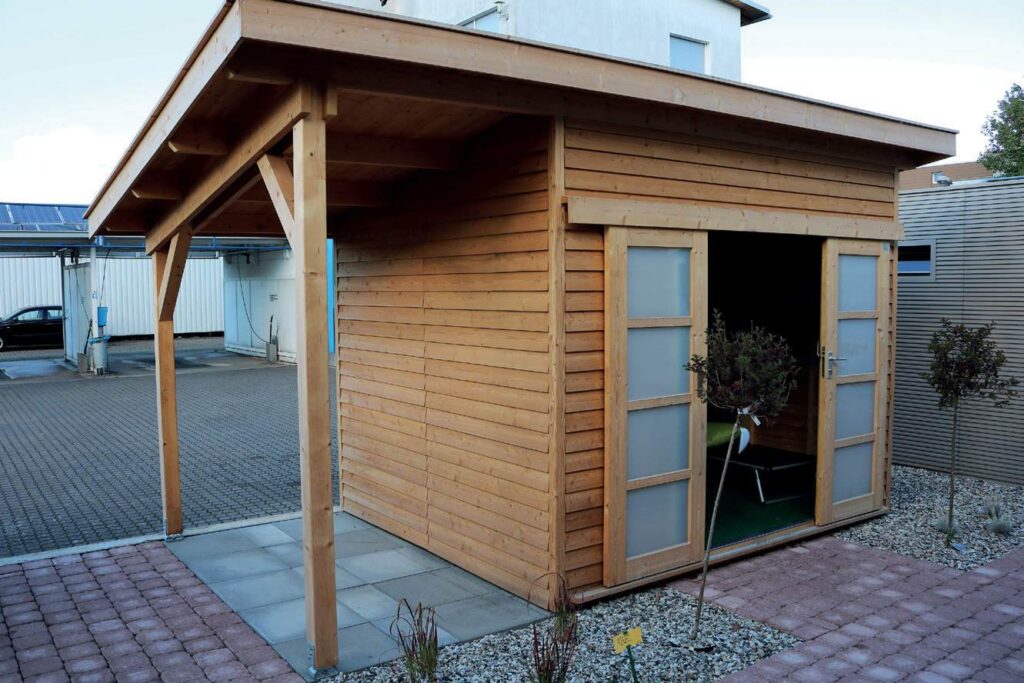
How to install EPDM roofing on shed roof?
- 1. EPDM rubber roof installation: How to do it yourself?
- 2. Preparation for the EPDM rubber roof installation
- 2.1. Roof cleaning
- 2.2. How to clean the roof?
- 3. Laying the EPDM roofing
- 3.1. Preparation of the EPDM roofing
- 3.2. Unrolling the EPDM roofing
- 3.3. Fitting:
- 3.4. Avoiding tension
- 3.5. Preparation for adhesive bonding:
- 4. Adhesive application to the surface
- 4.1. Adhesive preparation
- 4.2. Adhesive application
- 4.3. Avoiding excess glue
- 4.4.
- 5. Drying time
- 6. Adhering the EPDM to the surface
- 6.1. Start of gluing
- 6.2. Smoothing the EPDM roofing
- 6.3. Adhesion check
- 6.4. Roof strip sticking
- 7. Can I easily apply the EPDM on wood, insulation or bituminous materials?
EPDM rubber roofs are perfect for waterproofing roofs and work well not only on flat roofs, but also on the pitched ones. It is important to remember that in case of pitched roofs, the roof surface must be prepared, and appropriate fixing methods must be used to ensure that the rubber roof does not move and remains in place.
EPDM rubber roof installation: How to do it yourself?
EPDM rubber roofs become an increasingly popular material for waterproofing flat roofs, and their installation should not be particularly difficult. They are also known for their durability. Below we explain step by step the key points of installing EPDM roofing on the shed roof.
Preparation for the EPDM rubber roof installation
Before starting to instal the rubber roof make sure you have appropriate work clothes. Work gloves are necessary. Also make sure you have the necessary accessories, including, among others, roof cleaning equipment and adhesive.
Roof cleaning
It is particularly important to prepare the surface on which the EPDM rubber roof is to be applied. It must be clean, dry and above all free from any residues from other substrates, such as tar. This is the only way to ensure trouble-free adhesion of the EPDM roofing and its long service life.
How to clean the roof?
Remove larger debris by hand, e.g. branches, leaves and other larger items, from the roof surface. You can use a broom or rake to remove loose debris.
You can also use a pressure washer. It is an effective tool for removing smaller debris, dust and dirt from the roof surface. A jet of high-pressure water will thoroughly clean the surface, preparing it for further work. Ensure that all slots and nooks are thoroughly cleaned.
Subsequently, check the condition of the roof surface:
Once the roof is washed, check its surface carefully. Make sure that there are no cracks, holes or other damage that may affect the installation of the roofing. Any damage must be repaired before adhering the EPDM roof covering.
Allow to dry:
After thorough cleaning, the roof surface must dry completely before proceeding to the next steps of installation. A wet or damp surface can weaken the glue and the adhesion of the rubber roof.
Laying the EPDM roofing
The application of the EPDM roofing is a key step in the installation process. The correct spreading of the roofing ensures its optimal fit and durability.
Preparation of the EPDM roofing
Unpack the EPDM roofing and spread it on a flat surface near the roof. Make sure the roofing is free from creases and folds.
Unrolling the EPDM roofing
With the help of another person, carefully move the EPDM covering to the roof. Start unrolling it from one end of the roof, gradually moving along its entire surface.
Fitting:
Make sure the EPDM roofing covers the entire surface of the roof, with a small margin at the edges. This margin will allow the roofing to adhere precisely to the edge and prevent it from slipping.
Avoiding tension
When applying, try to avoid excessive tension of the roofing so that no folds and wrinkles are formed that can affect its durability and appearance.
Preparation for adhesive bonding:
Once the EPDM roofing has been carefully spread and fitted, allow it for a few minutes to settle and adjust to the ambient temperature. Then move to the gluing stage.
Adhesive application to the surface
Adhesive preparation
Choose an appropriate adhesive for the EPDM rubber roof, according to the manufacturer’s recommendations. Mix it thoroughly before use to obtain a homogeneous consistency.
Adhesive application
Using a roller or brush, apply the adhesive evenly to the roof surface. Apply the glue in small sections to avoid its drying out before laying the rubber roof.
Avoiding excess glue
Try to avoid excessive application of glue so that no clumps or stains are formed. The adhesive should be applied evenly to ensure full adhesion of the roofing to the surface.
Drying time
Allow the adhesive to dry slightly (according to the manufacturer’s instructions) until it becomes sticky to the touch. This will ensure better adhesion of the roofing to the surface.
Adhering the EPDM to the surface
Start of gluing
Start gluing the EPDM roof covering from one end of the roof, gradually moving along its entire surface. Make sure the roof covering is evenly stretched and sticks well to the adhesive.
Smoothing the EPDM roofing
Use a roller to smooth the EPDM roofing to remove any air bubbles and ensure full adhesion. Work from the inside of the roofing outwards to avoid folds and wrinkles.
Pressing the edges:
Pay special attention to the edges of the rubber roof so that they are well glued and secured. If necessary, use additional adhesive to ensure permanent adhesion.
Adhesion check
Once you have finished gluing the roofing, check carefully if the entire surface is well glued and there are no areas where the rubber roof can tack off. Make corrections if necessary.
These steps will ensure the proper adhesion of the EPDM, thus increasing its durability and effectiveness in protecting the roof from weather conditions.
Roof strip sticking
Roof strip preparation:
Cut the strips to the correct dimensions. Apply adhesive to the strips and edges of the roof, stick the strips to the edges, pressing them firmly. Then cut the corners to the correct dimensions and apply glue to the corners and the places where they are to be adhered. Glue the corners, making sure that they fit well and pressing them tightly.
Carefully check the entire roof to make sure that the roof covering is well glued and that there are no air bubbles or loose spots.
This is what the whole process of installing the EPDM roofing looks like. We hope you have now more courage to act and can handle this task without any problems.
Can I easily apply the EPDM on wood, insulation or bituminous materials?
EPDM is suitable for applying on flat (and also pitched) roofs with different substrates. There are many roofs with bituminous coatings that need to be renovated. In most cases, EPDM can be glued directly to this substrate without any problems. Of course, this also depends on the condition of the roof. Make sure that sharp protrusions do not damage the EPDM roof covering. EPDM can also be easily applied to surfaces made of wood, concrete and stone.