
Assembling a garden house - general instructions
- 1. Careful planning – what will be the purpose of the garden house?
- 2. Tool list – what will you need?
- 3. Tips for assembling a garden shed
- 4. Prefabricated kit as the ideal solution
- 5. Site preparation
- 6. How do you assemble a garden house? We explain step by step
- 6.1. Preparing the foundations
- 6.2. Erecting the substructure
- 6.3. Wall construction
- 6.4.
- 7. Installing the doors
- 7.1. Window installation
- 7.2. Roof assembly
- 7.3. Floor installation
- 7.4. Your own thermal insulation
- 8. Energy and utilities in the garden house
- 9. Legislation and permit requirements
- 10. Summary
A garden house is not only a practical storage space for tools and equipment, but also a great place to relax, work or spend time with the family. By choosing to assemble your garden house from prefabricated components, you are assured that the entire structure will be simple to assemble and requires no specialist skills. Unlike building a cottage from scratch, prefabricated kits save you time and avoid complicated technical challenges.
When you buy a garden house from our company, you are guaranteed high quality workmanship and precisely fitted components that have been carefully designed to make it easy for you to assemble yourself. In each kit you will find detailed instructions that will guide you step-by-step through the entire process of assembling the cottage.
In this article, we’ll provide a general guide to assembling your garden house, with the aim of helping you understand the basic steps of construction and providing useful tips.
Careful planning – what will be the purpose of the garden house?
Before assembling your garden house, it is crucial to establish how you plan to use it. This will allow you to better choose its size and functionality.
Here are some questions to ask yourself:
- do I need additional windows to provide natural light?
- will I need a large space, such as for a lawnmower or other large garden tools?
- will the cottage be used as a family gathering place or relaxation space?
Understanding these aspects will help you choose the right kit and make it easier to plan your next steps.
Tool list – what will you need?
Assembling a prefabricated garden house does not require many tools, but you will not be without the bare minimum required.
Here is a basic list that you should prepare:
– hammer – for hammering in nails and gently fitting the elements.
– cordless screwdriver – for fitting screws and screwing together components.
– a tape measure and spirit level – for precise measurements and checking that the structure is level.
– screwdriver – you may need this for tightening screws by hand in hard-to-reach places.
– drill – useful for preparing holes for screws, especially in wood.
– wallpaper cutter or chisel – for precise cutting of materials.
Of course, it is also a good idea to have a pencil and spirit level on hand and a rubber mallet just in case. It is worth remembering that, depending on the specific model of shed, the manufacturer may provide a more detailed list of the tools needed.
Tips for assembling a garden shed
Before you start assembling your prefabricated garden shed, it’s a good idea to prepare properly and follow a few key rules.
1. Preparing the foundation: the foundation for the garden shed must be perfectly level and stable. If the foundation is not properly prepared, this can lead to uneven settling of the structure, which in turn can affect the functioning of doors and windows.
2. Storage of the timber before installation: make sure that the timber elements are stored in a dry place before installation. Wet wood can become deformed over time, which will affect the stability of the entire structure.
3. Help from another person: although you can assemble a garden house by yourself, working with two people is much quicker and safer. Working together makes it easier to manipulate larger components such as walls and roof.
4. Protection against moisture: it is important to place an insulating film or rubber pads between the foundation and the wooden structure to prevent moisture penetrating the wood.
5. Maintaining the right angle: when installing the walls, regularly check the right angle using a spirit level. This is crucial to ensure that the walls are set correctly and to avoid problems with the house settling.
Prefabricated kit as the ideal solution
The assembly of a prefabricated cottage consists of a few simple steps, such as preparing the foundation, installing the walls, doors, windows and roof. All parts are supplied with the relevant instructions, making the process quick and intuitive, and you don’t need any advanced building skills.
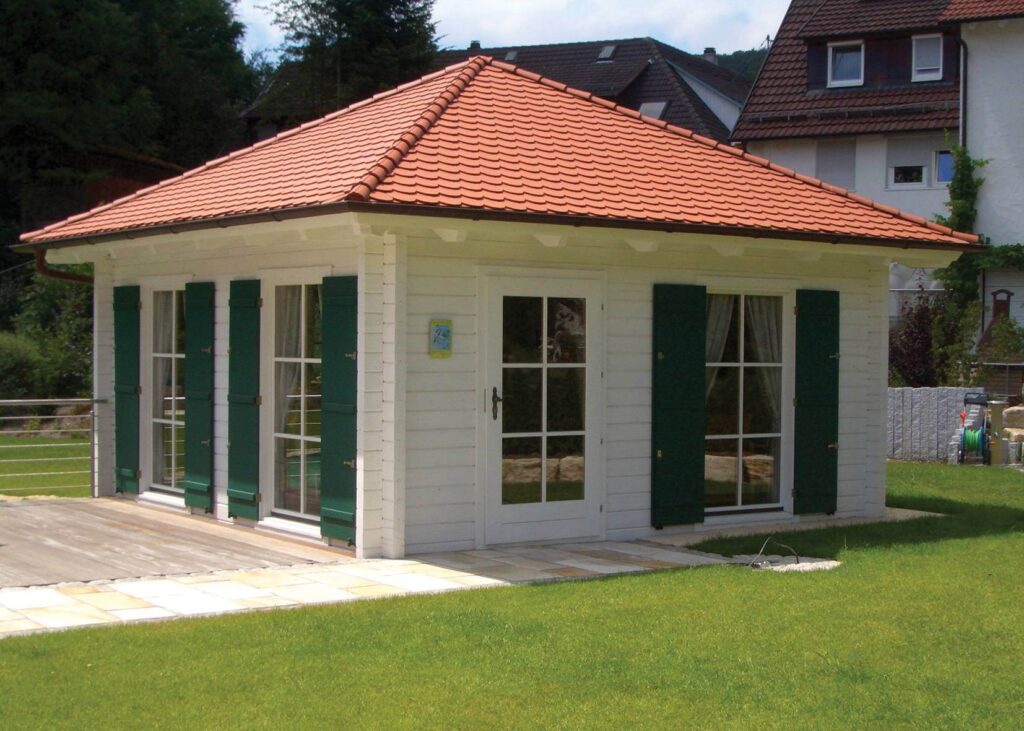
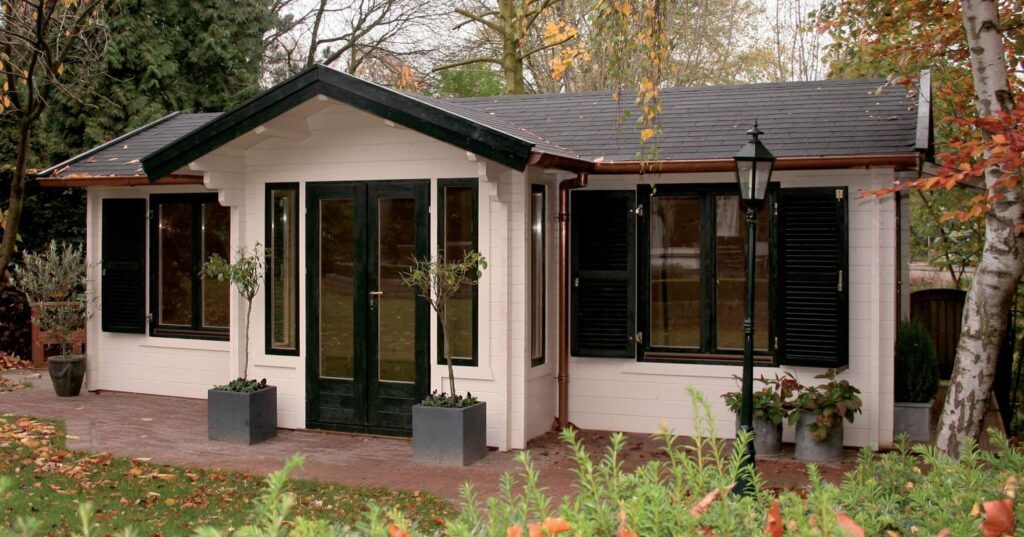
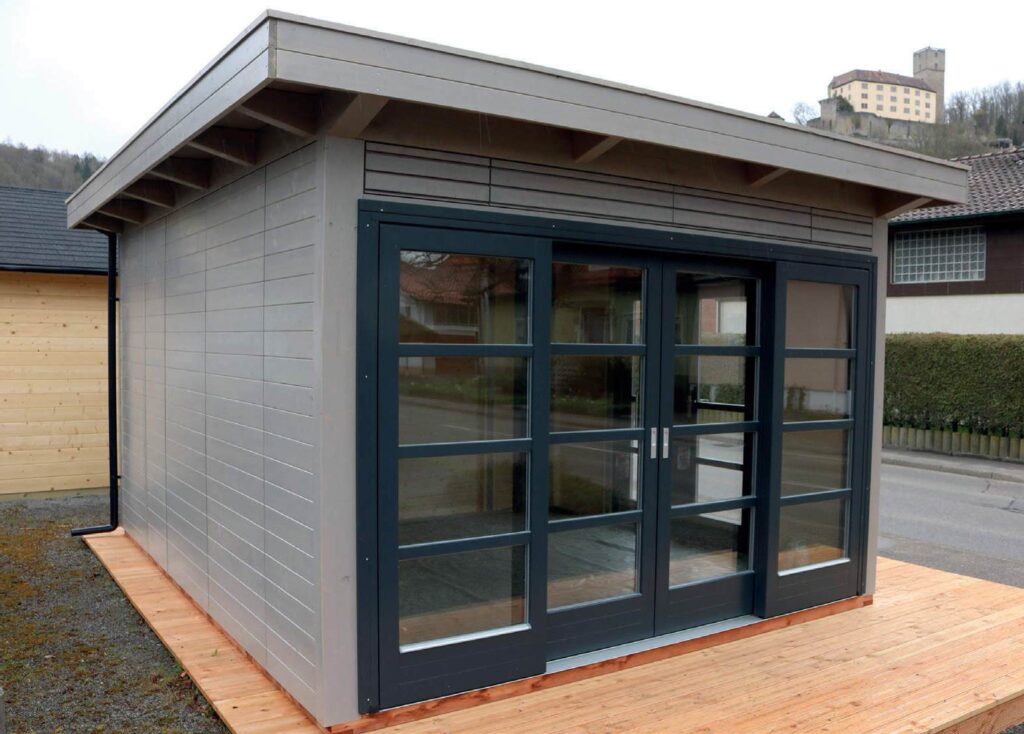
BHB’s customers can count on a wide selection of ready-made designs that will blend in perfectly with garden arrangements.
Site preparation
Before installation begins, it is important to prepare a suitable site. The surface on which the house will stand must be level, well drained and stable. Remove any stones, branches and vegetation to ensure a comfortable working space.
If the ground is uneven, it is a good idea to level it before installing the foundation. Preparing the work area is a key step that will ensure the stability of the entire structure. It is also worth remembering to ensure a site that is not exposed to extreme weather conditions (e.g. flooding or very strong winds).
How do you assemble a garden house? We explain step by step
Below you will find detailed step-by-step instructions that will guide you through the entire assembly process, making it easy to build a garden shed or gazebo yourself, even if you have no construction experience.
Preparing the foundations
The foundation is the basis of any stable structure. Here are the most common types of foundations you can use:
- Slab foundation: this is a solid and durable solution, ideal for larger cottages. It consists of a concrete slab poured over a pre-prepared layer of sand and gravel.
- Point foundation: based on several points where concrete columns are placed. This is an economical and popular solution for smaller garden houses.
- Concrete block foundation: this is a method that involves placing blocks on a previously prepared foundation. It gives solid support to the structure, especially on uneven ground.
Erecting the substructure
The erection of the substructure consists of laying and fixing the floor beams on the foundation, which will form the base for the whole structure. It is important to make sure that the beams are properly level, as incorrect placement can affect the stability of the house. It is also worth checking that there is adequate insulation between the foundation and the beams to protect the structure from moisture and long-term deterioration of the timber.
Wall construction
The installation of the walls is a key stage in the construction of a garden house. The process starts with laying the first layers of wall beams on the substructure. It is important that the timber is not in direct contact with the substrate, this will prevent dampness.
- Laying the wall beams: each beam has a tongue and groove, so they can be easily joined by inserting one beam into another. Remember to drive the beams gently with a hammer to avoid damaging the feathers.
- Checking the right angle: once the first layer of walls has been laid, check the angles with a spirit level to make sure the structure is perfectly level.
- Building further layers: the subsequent wall layers are assembled in the same way until you have reached the desired height.
Installing the doors
Once you have reached the desired height of the walls, you can proceed with the installation of the doors. In the case of prefabricated cottages, the doors are usually delivered ready to be installed. Installation begins by inserting the door frame into the pre-prepared opening. The frame is firmly set on the bottom beam and screwed to the walls with hinges. The door leaf is then hung and handles and other finishing touches are fitted.
Window installation
As with doors, window installation takes place after the openings in the walls have been prepared. The window frames are inserted into the openings and carefully set to ensure proper insulation and structural stability. Once the frames are in place, the windows are fixed using the appropriate screws. In garden houses, it is important that the windows are solidly installed and protect the interior from the weather, as well as ensuring airtightness.
Roof assembly
The installation of the roof starts with the rafters being placed on the upper beams of the walls. The prefabricated roof elements are supplied in a kit, which makes the work much easier. Once the rafters have been fixed, the installation of the roof panels proceeds. The roof panels are accurately fitted to the structure, ensuring quick and precise installation. Finally, care must be taken to provide a suitable roof covering to ensure durability and protection from the elements.
Floor installation
Once the walls and roof have been completed, the next stage is the installation of the floor. The floor in a garden house usually consists of wooden planks, which are mounted directly on joists, previously levelled and protected against moisture. It is important that the planks are properly fastened to ensure the stability of the entire structure.
Your own thermal insulation
If you plan to use your garden house all year round, it is worth investing in additional thermal insulation. This can be achieved by insulating the walls, floor and roof with materials such as mineral wool, polystyrene or polyurethane foam. Well-constructed insulation will not only help to keep the house warm during cold weather, but will also help to protect it from overheating in summer.
Energy and utilities in the garden house
If you plan to use your garden house in the evenings, on colder days or throughout the year, it is worth considering the installation of an electrical system. Installing lighting will allow you to use the cottage comfortably after dark, and installing sockets will allow you to connect electrical appliances. For more advanced projects, you can also consider installing heating systems such as small electric heaters, infrared panels or even wood cookers.
It is a good idea to comply with all safety standards when installing electricity. The use of suitable moisture-resistant wiring and safety features such as fuses or surge protectors is key. If the cottage will have access to an external power supply, care should be taken to ensure that the installation is properly earthed and complies with building regulations. It is also good practice to secure cables in suitable conduits or protective pipes to avoid damage.
Legislation and permit requirements
Before you start building a garden house, you should familiarise yourself with the applicable local building regulations, which may vary from region to region. In some cases, you may need to obtain a building permit, especially if you plan to erect a larger structure or if the garden house will be used for residential or recreational purposes.
You should also pay attention to the regulations regarding the distance of the building from the boundaries of the plot to avoid conflicts with neighbours and breaches of the law. It is worth ensuring that the planned bungalow will not interfere with the view of neighbouring properties or cause any other inconvenience.
Summary
Assembling a garden house can be a simple and enjoyable process, especially if you use prefabricated kits. Bertsch Holzbau offers complete self-assembly kits that have been designed with ease and speed of assembly in mind. Thanks to precisely matched components and precise instructions, even people without experience can easily erect a stable and functional structure.
However, if you do not have the time or ability to assemble it yourself, we will be happy to help you. We offer an additional service of professional installation, so that you can enjoy your finished cottage without any extra effort.